The Japanese Way of War Pack
Three ziplock releases for a great price!
In war's desperate times, it's not unusual for commanders to exhort their troops to fight to "the last man" or "the last bullet."
The times when this actually happens are few and far between...
...except with the Japanese "way of war." For the Japanese soldier, these kinds of orders were the rule, not the exception.
Is it philosophy or tactical mind-set? Or both? Now you can take a closer look, with three distinctly different WWII situations, pitching the Japanese against a variety of opponents, with a great "package deal" that is almost "buy two, get one free." A great way to pick up back issues you've been meaning to get, and also great as a gift to introduce a friend to ATO and TPS.


Forlorn Hopes
Most Americans can easily name Pearl Harbor as the most successful Japanese attack of the war. But what campaign truly represents the "high tide" of the Japanese Empire?....
That would be their successful conquest of the Dutch East Indies, one of their most strategically vital targets for the oil and rubber it could provide.
The Allies are spread thin and facing multiple routes by which the enemy can attack. They know the maxim that "those who defend everything defend nothing" but deciding what NOT to hold is difficult. You must make the Japanese pay for every gain...
The Japanese face an enemy already in control of much of the battlefield and fighting with their backs to the wall. They have a schedule crunch and must weigh to benefits of using high cost assets to gain objectives. The cost of success at too high a price is long term failure (and who will tell the Emperor?).
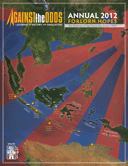
Forlorn Hopes and the 2012 ATO Annual
Maps - One full color 22"x34" mapsheet
Counters - 288 full color die-cut 5/8" pieces
Rules length - 16 pages
Charts and tables - 4 pages
Complexity - Medium
Solitaire suitability - Low
Playing time - 2 to 10 hours depending on the scenario
Design - Paul Rohrbaugh
Development - Lembit Tohver
Graphic Design - Mark Mahaffey
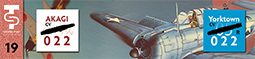
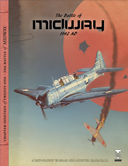
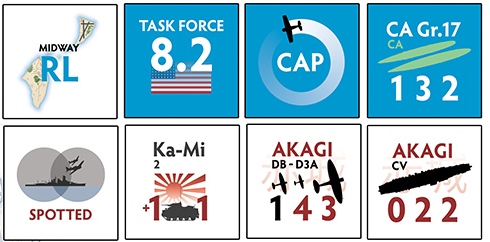
The Battle of Midway
No one has ever questioned the selection of Midway as THE decisive battle of the Pacific War. All agree that this one changed everything, as the Japanese plan to “lure” the remaining US fleet to its destruction led to a strategic defeat, due to code breaking, heroism, and remarkable timing.
Now you can play out this exciting battle from Turning Point Simulations and see if you can do better. The Battle of Midway, June 3-6, 1942 gives you all the parts you need to gain insight into the questions facing both sides.
This design blends clean simplicity with a fine level of detail (even accounting for the Japanese planes intended to be assembled and used on the captured island!). It includes an over-view mapboard of the area, an off-map battle board, and a variant map with Midway in detail, where, for the first time, you can pursue the actual Japanese invasion of the island and see what might have been.
The Battle of Midway (TPS) includes:
Map: Full color, 11” x 17” mounted mapboard and integrated battle display
Pieces: 176 full color, large 5/8" die-cut counters
Rulesbook (2nd printing): One 12 page updated rulesbook
Charts and Displays (3rd printing): Two updated Deployment displays
Skill Level: Advanced
Bonus Mini-Game Included: A Defiant Stand
Design - Paul Rohrbaugh
Development - Jim Webaneth
Graphic Design - Mark Mahaffey
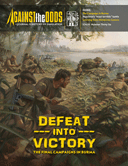
Defeat into Victory
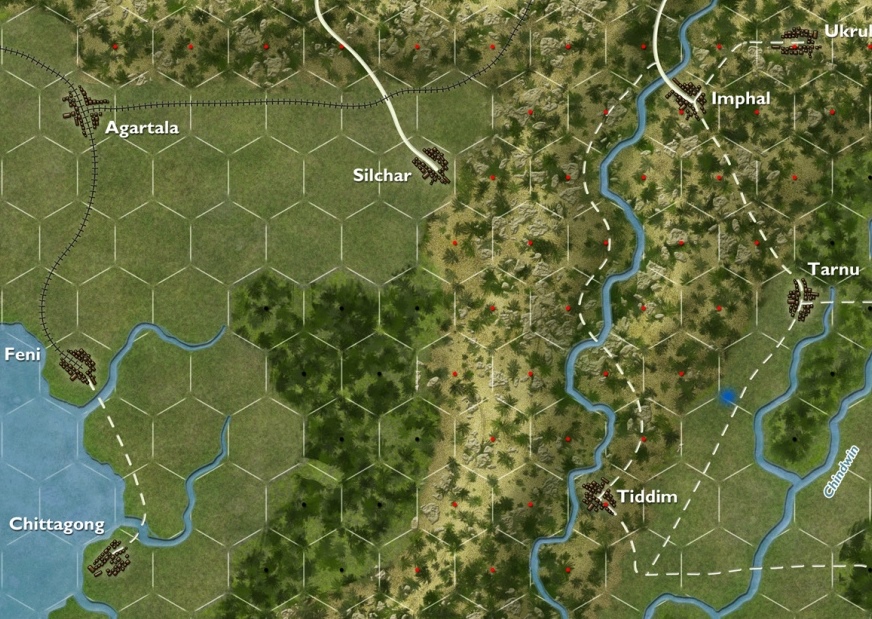
"Defeat into Victory" sets up the 1944-45 battles in Burma. Their fortunes declining everywhere but determined to pre-empt any Allied attack, the Japanese launched an offensive of their own in May, the largest they ever launched outside of China, against the Allied positions in and around Imphal and Kohima. The battles that raged among the jungles and mountainous hillsides of the Indian and Burma frontier, and the subsequent Allied victory that followed in July, marked a fundamental and permanent shift in the war.
Defeat Into Victory and issue #36 of ATO:
Map - One full color 22"x34" mapsheet
Counters - 300 full color 1/2" die-cut pieces
Rules length - 12 pages
Charts and tables - 2 pages
Complexity - Medium
Solitaire suitability - Average
Design - Paul Rohrbaugh
Development - Lembit Tohver
Graphics - Mark Mahaffey
|